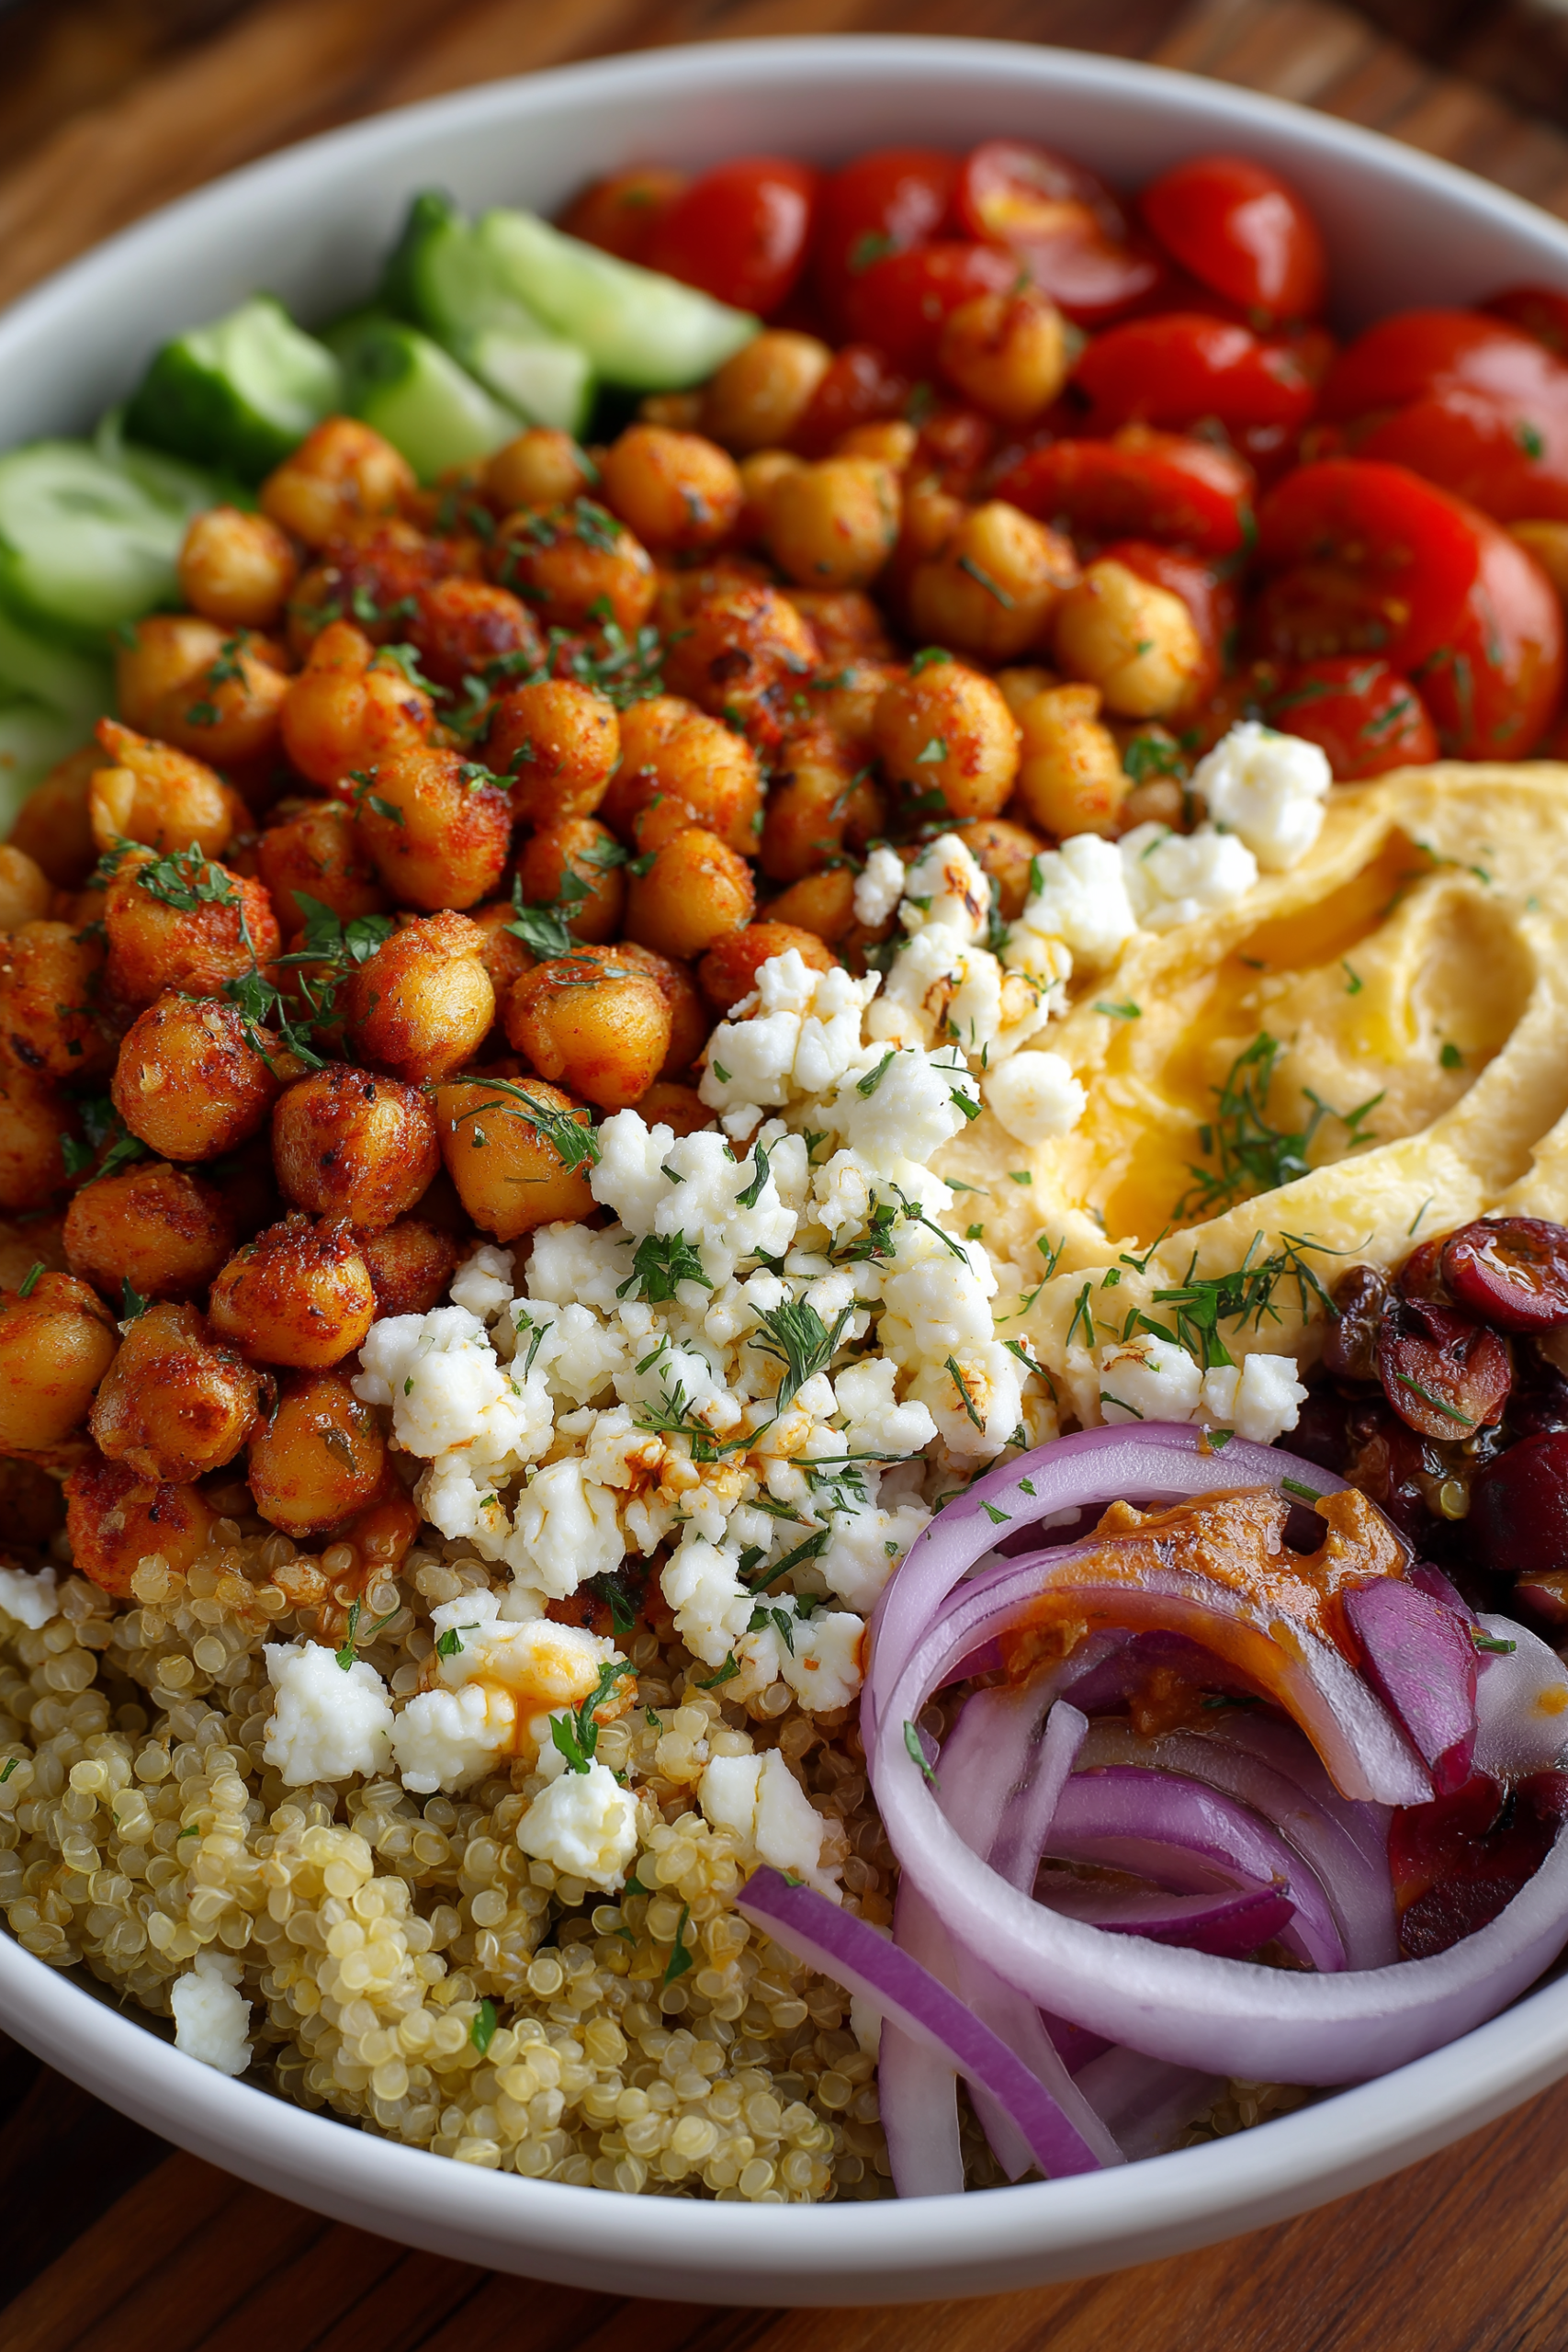
Mediterranean chickpea bowls are the kind of meal that quietly takes over your weekly rotation. Devotees swear by them, and honestly, once you make a batch, you’ll get why. There’s something about the creamy hummus, the salty crumble of feta, and the crisp bite of fresh vegetables all piled into one bowl that just works. It’s cool and refreshing in summer, but somehow still feels satisfying enough for a cold winter night too.
Here’s the thing about these bowls: they’re buttery-soft chickpeas meeting tangy feta meeting velvety hummus, and every bite hits a little differently depending on what you scoop up. This one energizes your lunch without weighing you down, and it makes dinner feel effortless on those nights when you truly cannot be bothered to stand at the stove for an hour. Let’s dive in — grab a bowl, and I’ll walk you through exactly how I make mine.
Want this recipe sent straight to your inbox? Subscribe below and I’ll email it to you so you never lose it in a sea of browser tabs.
What Are Mediterranean Chickpea Bowls, Exactly
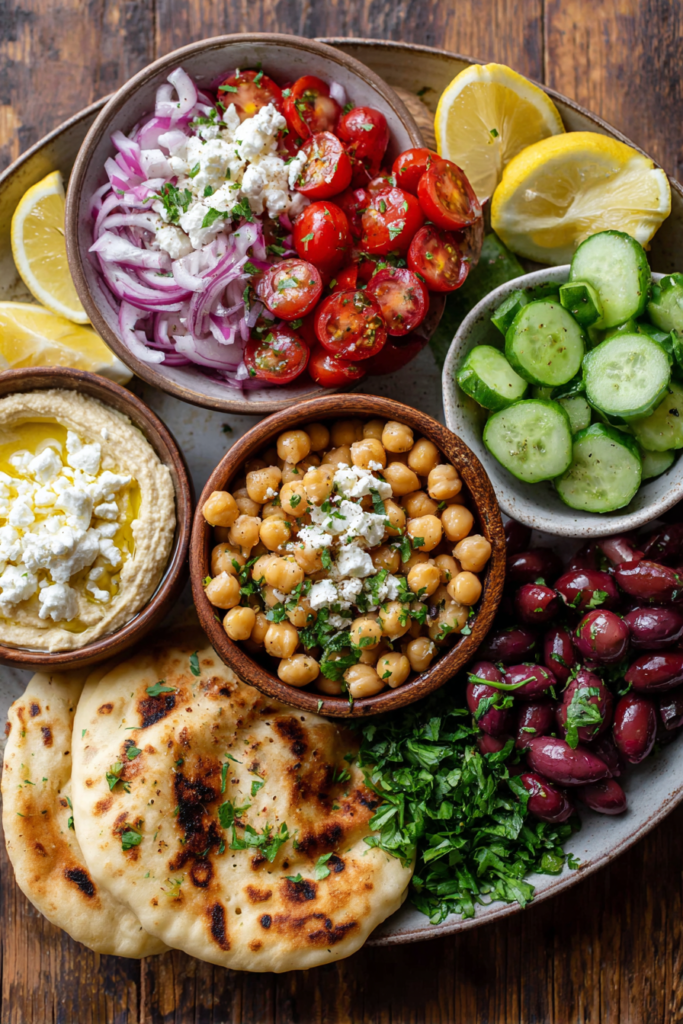
At their core, Mediterranean chickpea bowls are a build-your-own-plate situation: chickpeas as the base, hummus as the creamy anchor, feta for salt and tang, and then whatever fresh vegetables and herbs you’ve got on hand. Think cucumbers, tomatoes, red onion, olives, maybe some warm pita on the side.
Why You’ll Love This Recipe
I make a version of this at least twice a week, and I’m not exaggerating. It’s fast — we’re talking fifteen minutes if your chickpeas are already cooked or canned. It’s flexible, since you can swap almost anything and it still tastes right. And it travels well, so if you’re packing lunches, this is your new best friend. Honestly, I’ve eaten this cold straight out of a Tupperware in my car more times than I’d like to admit.
The Flavor and the Feel-Good Factor
The taste is bright and a little tangy, thanks to lemon juice and feta, balanced out by the earthy, slightly nutty chickpeas and the smooth richness of the hummus. Texturally, you get creamy, crunchy, and chewy all in the same forkful. And nutritionally, these Mediterranean chickpea bowls give your body what it craves — plant protein, fiber, healthy fats from the olive oil and feta, and a solid dose of vegetables without any fuss.
Ingredients You’ll Need
Here’s what goes into a classic version of these Mediterranean chickpea bowls. Quantities below make about four bowls.
| Ingredient | Amount | Notes |
|---|---|---|
| Chickpeas, cooked or canned | 2 cans (15 oz each) | Drained and rinsed |
| Hummus | 1 cup | Store-bought or homemade |
| Feta cheese | 3/4 cup, crumbled | Block feta tastes better than pre-crumbled |
| Cucumber | 1 medium | Diced |
| Cherry tomatoes | 1 cup | Halved |
| Red onion | 1/4 cup | Thinly sliced |
| Kalamata olives | 1/3 cup | Pitted |
| Fresh parsley | 2 tablespoons | Chopped |
| Extra virgin olive oil | 3 tablespoons | Good quality matters here |
| Lemon juice | 2 tablespoons | Freshly squeezed |
| Garlic powder | 1/2 teaspoon | Or one clove, minced |
| Salt and pepper | To taste | |
| Pita bread | 4 pieces | Warmed, for serving |
Tools You’ll Want on Hand
You don’t need anything fancy. A good cutting board, a sharp knife, a mixing bowl for the chickpeas, and a small jar or bowl for whisking the dressing. If you’re roasting the chickpeas instead of using them cold, a sheet pan is all you need beyond that.
Substitutions and Additions
This is where these bowls really shine — they’re forgiving. No feta on hand? Goat cheese works, or skip dairy entirely for a vegan version. Swap chickpeas for white beans if that’s what’s in your pantry. Add roasted red peppers, artichoke hearts, or a handful of arugula if you want more green in there. And if you like heat, a pinch of chili flakes in the dressing wakes everything up.
How to Make Mediterranean Chickpea Bowls
Making these Mediterranean chickpea bowls is genuinely one of the easiest things you’ll cook this week. Here’s how I do it, step by step.
Step-by-Step Instructions
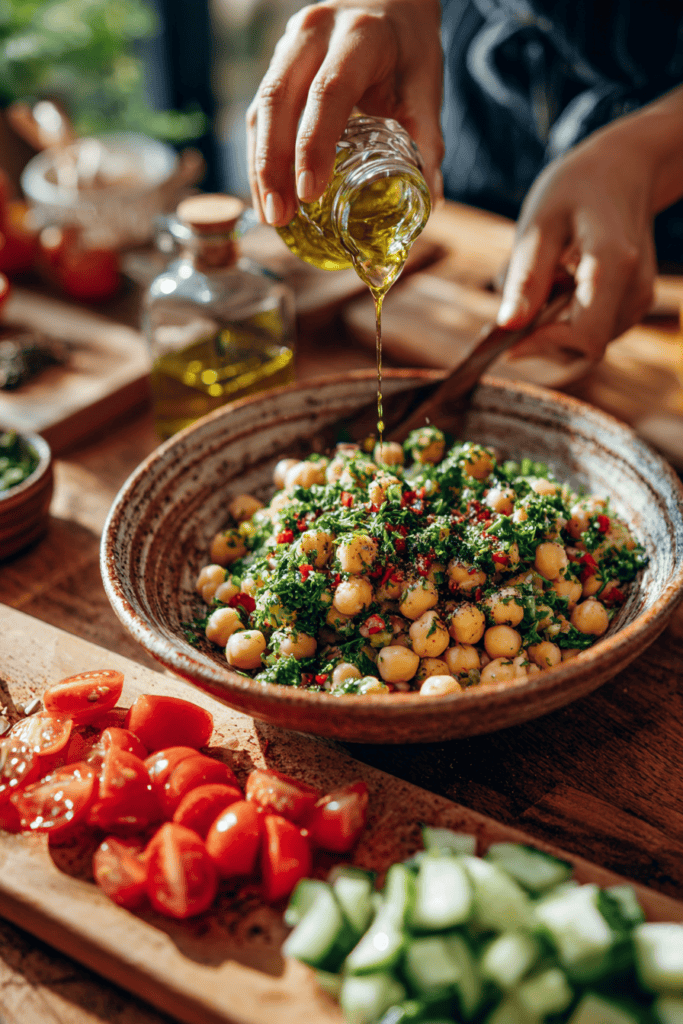
First, drain and rinse your chickpeas well, then pat them dry with a towel. This matters more than you’d think — soggy chickpeas make for a soggy bowl. Toss them in a bowl and set aside.
Next, whisk together the olive oil, lemon juice, garlic powder, salt, and pepper in a small jar or bowl. This is your dressing, and you’ll use it for both the chickpeas and the vegetables. Pour about half over the chickpeas and toss to coat.
While that’s soaking in, dice your cucumber, halve your tomatoes, and thinly slice your red onion. Toss all of it together in a separate bowl with the remaining dressing, the olives, and half the parsley.
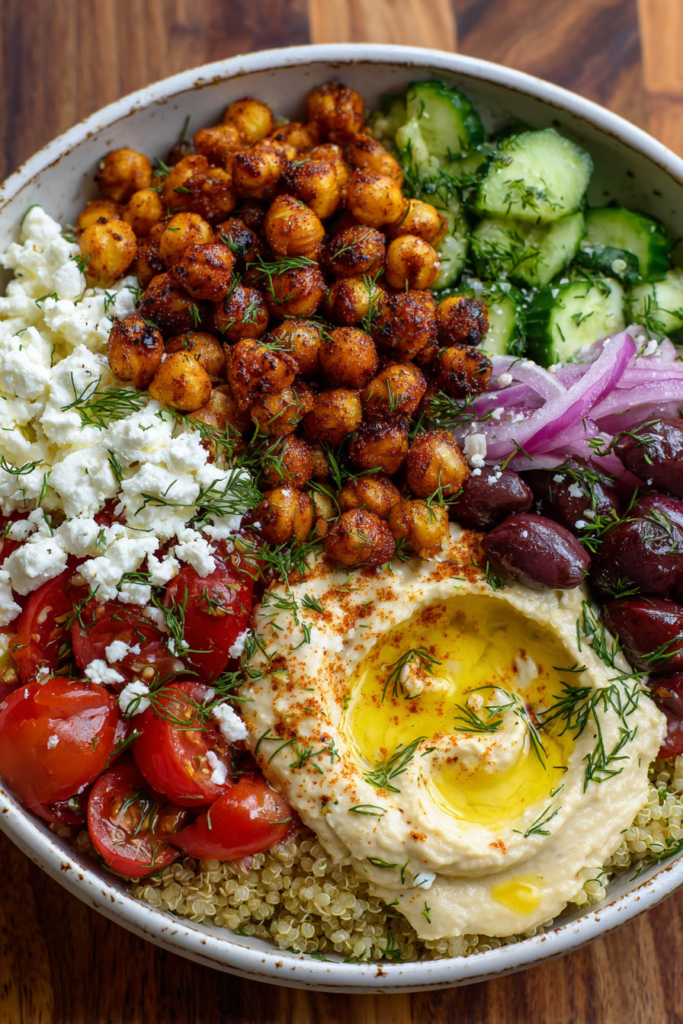
Now, assembly. Spread a generous scoop of hummus across the bottom of each bowl — and this is the part where I always mess up, because I never spread enough and end up wishing for more halfway through eating. Layer the dressed chickpeas on top, then the vegetable mixture, then crumble the feta over everything. Finish with the rest of the parsley and a little extra drizzle of olive oil if you’re feeling generous.
Warm your pita, tear it up, and serve it right alongside the bowl for scooping.
What to Serve Alongside It
These bowls are pretty complete on their own, but if you want to round things out, a side of tzatziki never hurts. Roasted vegetables like zucchini or eggplant pair beautifully too. And on a hot day, honestly, a cold glass of lemonade or mint tea is the move.
Tips, Storage, and Everything Else You Need to Know
My Best Tips for Getting This Right
Don’t skip patting the chickpeas dry — I said it once already, but it’s worth repeating because it genuinely changes the texture. Also, let the dressed chickpeas sit for at least ten minutes before assembling; the flavor soaks in and it’s noticeably better. And use block feta over pre-crumbled every single time. The difference in flavor is not subtle.
If you’re meal-prepping, keep the hummus, chickpeas, vegetables, and feta in separate containers and assemble right before eating. This keeps everything crisp instead of turning into a sad, soggy mess by day three.
How to Store Leftovers
Store each component separately in airtight containers in the fridge, where they’ll keep well for up to four days. The dressed chickpeas and vegetables will actually taste better the next day once the flavors have had time to mingle. I wouldn’t freeze this one, though — the vegetables and hummus don’t hold up well after thawing.
A Few General Notes
This recipe easily doubles or triples if you’re feeding a crowd or meal-prepping for the week. And if you’re short on time, a store-bought hummus and pre-marinated olives make this practically a five-minute assembly job.
Nutritional Information
Here’s an approximate breakdown per serving, based on four servings total. Keep in mind this will shift depending on the exact hummus and feta you use.
| Nutrient | Approximate Amount |
|---|---|
| Calories | 420 |
| Protein | 15g |
| Carbohydrates | 42g |
| Fiber | 11g |
| Fat | 22g |
| Sodium | 680mg |
Frequently Asked Questions
Can I make these Mediterranean chickpea bowls ahead of time? Yes, and honestly they’re better for it. Just keep components separate until you’re ready to eat.
Are these bowls vegan? They’re vegetarian as written, thanks to the feta. Skip the feta or use a plant-based alternative to make them fully vegan.
What can I use instead of pita? Warm flatbread, naan, or even a bed of rice or quinoa works well if you want to skip bread entirely.
Can I use dried chickpeas instead of canned? Absolutely — just cook and cool them first. Dried chickpeas that you’ve soaked and simmered yourself often have a better texture anyway.
Wrapping It All Up
Mediterranean chickpea bowls are proof that a handful of simple ingredients, layered thoughtfully, can turn into something you genuinely look forward to eating. They’re quick, they’re endlessly adaptable, and they hold up whether you’re feeding yourself on a busy Tuesday or putting together a spread for friends. This one’s bound to become a regular in your kitchen too.
If you loved this, you might also enjoy a roasted red pepper hummus, a lemony chickpea salad, or a warm Mediterranean grain bowl with farro and roasted vegetables.
If you make these Mediterranean chickpea bowls, I’d love to hear how they turned out. Leave a review below, and if you snap a photo, share it on Pinterest and tag it so I can see your version.
PrintMediterranean Chickpea Bowls with Hummus and Feta
Mediterranean chickpea bowls layered with creamy hummus, tangy feta, and crisp fresh vegetables—a quick, no-fuss meal that works for lunch, dinner, or meal prep all week long.
- Prep Time: 15 mins
- Cook Time: 0 mins
- Total Time: 15 mins
- Yield: 4 servings
- Category: Lunch / Dinner
- Method: No-Cook / Assembly
- Cuisine: Mediterranean
- Diet: Vegetarian
Ingredients
2 cans (15 oz each) chickpeas, drained and rinsed
1 cup hummus, store-bought or homemade
3/4 cup feta cheese, crumbled
1 medium cucumber, diced
1 cup cherry tomatoes, halved
1/4 cup red onion, thinly sliced
1/3 cup Kalamata olives, pitted
2 tbsp fresh parsley, chopped
3 tbsp extra virgin olive oil
2 tbsp fresh lemon juice
1/2 tsp garlic powder (or 1 clove, minced)
Salt and pepper, to taste
4 pieces pita bread, warmed
Instructions
1. Drain and rinse the chickpeas well, then pat dry with a towel and set aside in a bowl.
2. Whisk together olive oil, lemon juice, garlic powder, salt, and pepper in a small bowl to make the dressing.
3. Pour half the dressing over the chickpeas and toss to coat.
4. Dice the cucumber, halve the tomatoes, and thinly slice the red onion. Toss with the remaining dressing, olives, and half the parsley in a separate bowl.
5. Spread a generous scoop of hummus in the bottom of each bowl.
6. Layer the dressed chickpeas on top, followed by the vegetable mixture.
7. Crumble feta over each bowl and finish with the remaining parsley and a drizzle of olive oil if desired.
8. Warm the pita and serve alongside the bowls for scooping.
Notes
Pat the chickpeas dry before dressing them—this keeps the bowl from turning soggy.
Let the dressed chickpeas sit for 10 minutes before assembling for better flavor.
Use block feta instead of pre-crumbled for the best taste and texture.
For meal prep, store each component separately and assemble just before eating.